This shop has been compensated by Collective Bias, Inc. and its advertiser. All opinions are mine alone. #EggcellentTreats #CollectiveBias – No Bake BUTTERFINGER ® Cheesecake
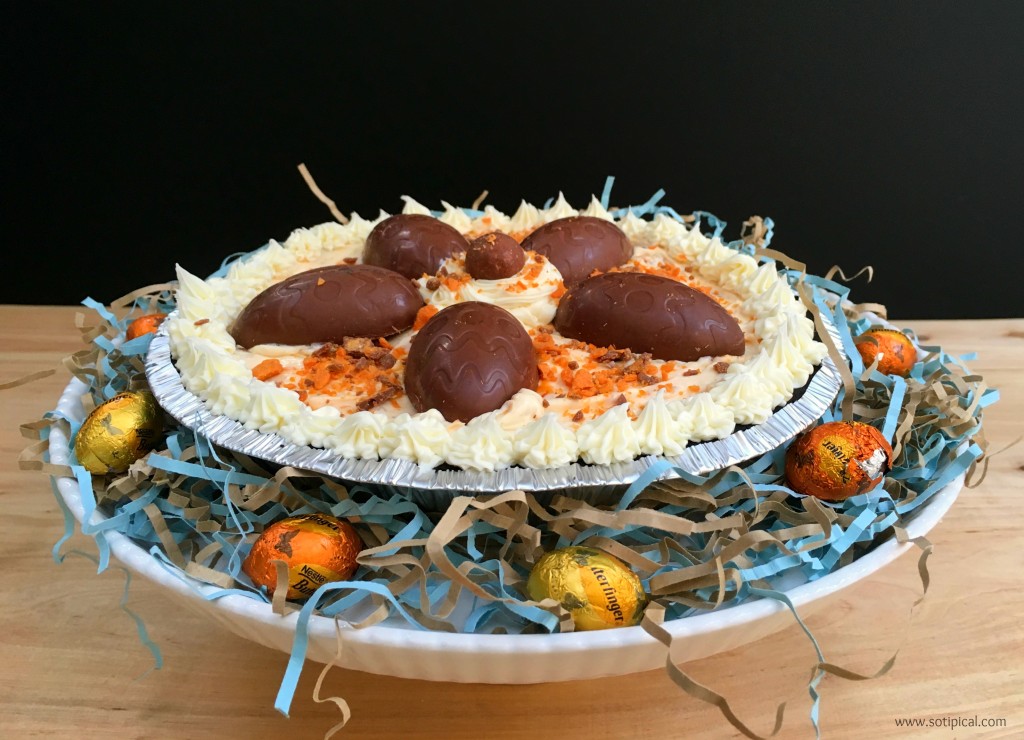
My No Bake BUTTERFINGER ® Cheesecake is a perfect no-fuss, easy to make dessert this holiday that your family will LOVE! It is so creamy and delicious, and the chocolate crust really adds to the flavor! The fact that it is no bake makes it even better!
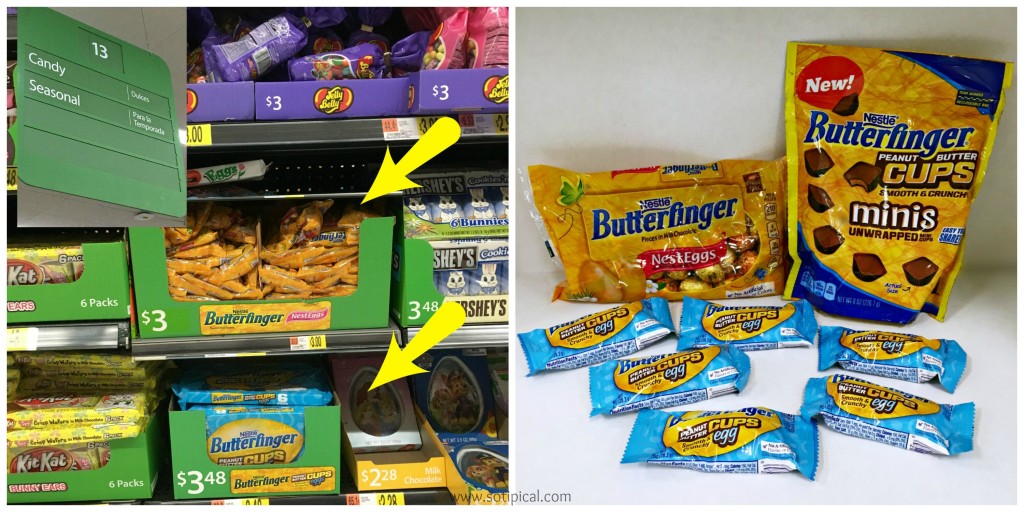
My family has been talking about cheesecake for a several weeks and I promised to make one. We also love the taste of BUTTERFINGER ® so I knew that I would be incorporating some in my recipe for sure. (Something I recently learned about BUTTERFINGER ® is that they contain no artificial colors and flavors, and the colors are added from natural sources.) I wanted my cake to be festive so I picked up some Nestle ® BUTTERFINGER ® Cup Eggs 6pk at Walmart, along with some BUTTERFINGER ® Minis and BUTTERFINGER® NestEggs. (The eggs were in the “seasonal” aisle and the minis were in the regular candy aisle.)
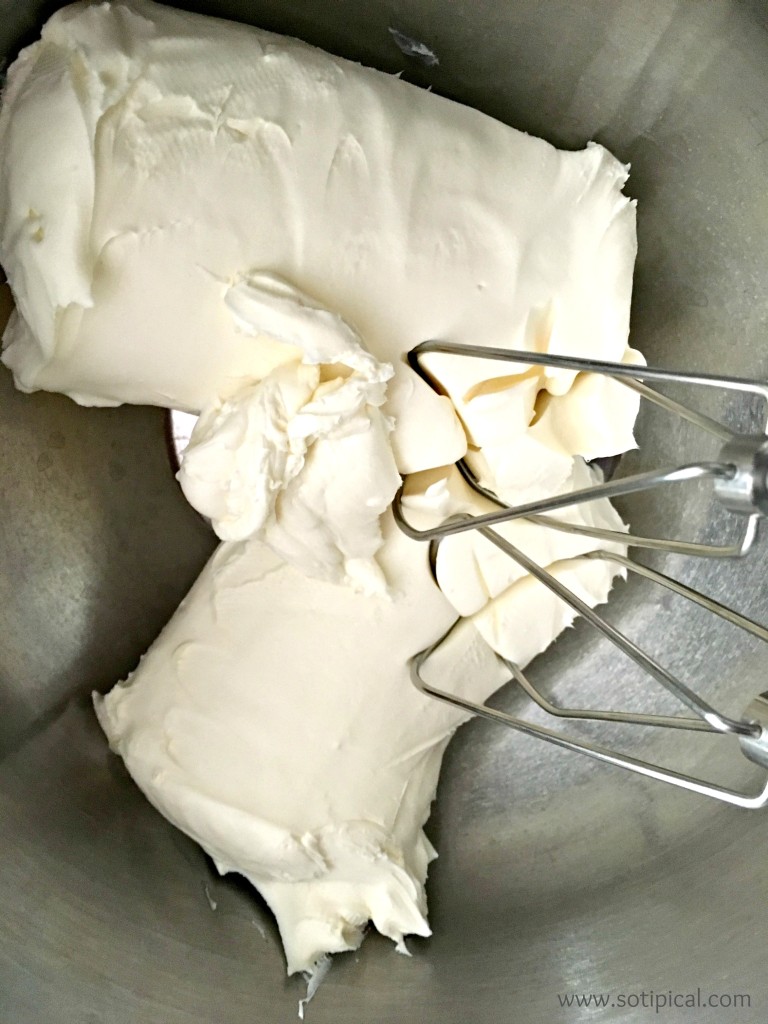
We made a “trial” No Bake BUTTERFINGER ® Cheesecake over the weekend because we are cheesecake fanatics to try it out before we served it to our Easter guests. The first step it to soften your cream cheese for at least 30 minutes prior to assembly. Once softened, whip the cream cheese with an electric mixer until smooth and creamy.
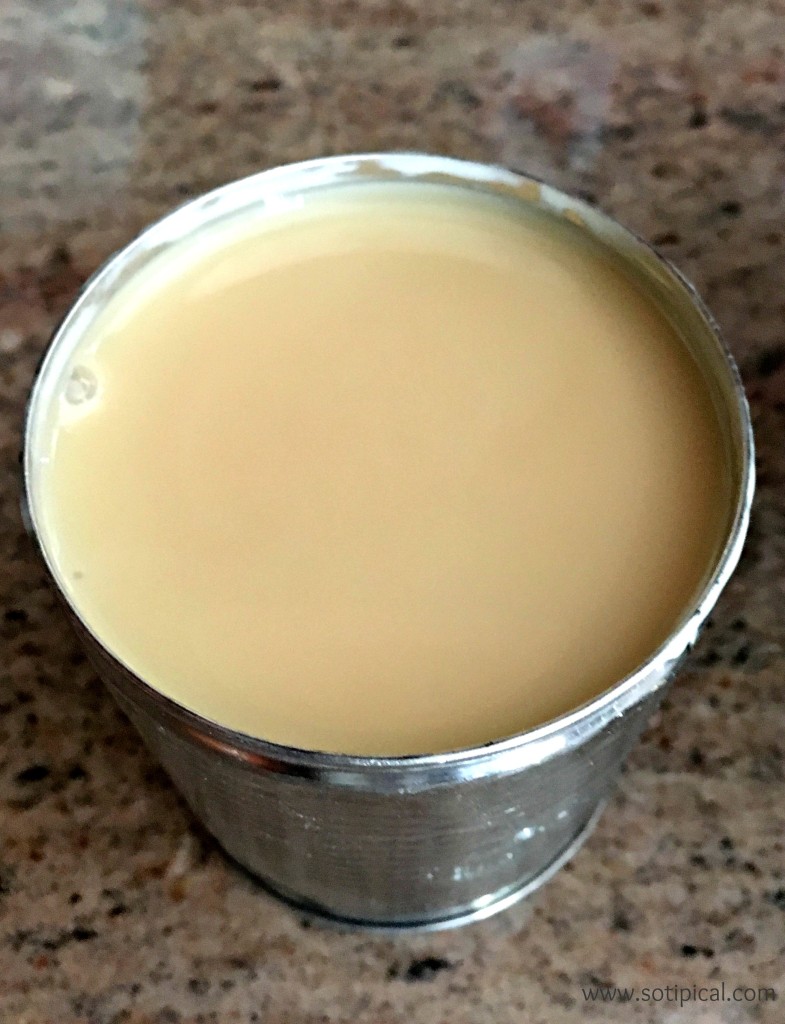
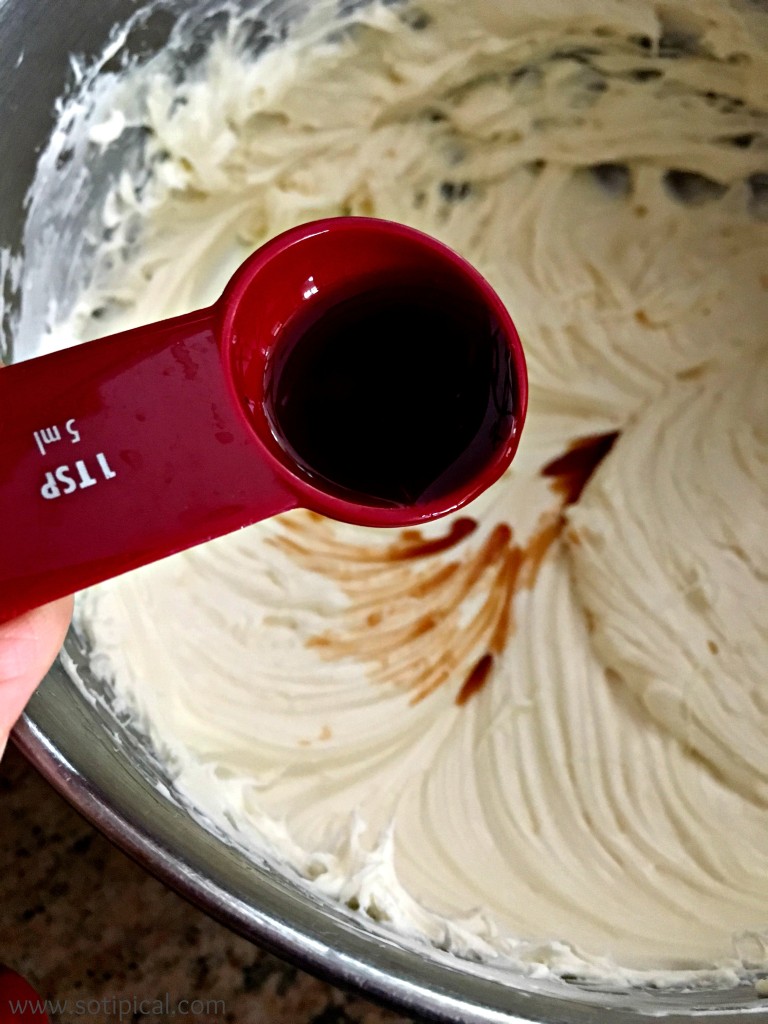
Next you will slowly drizzle in the sweetened condensed milk, then add the vanilla. Whip until it is well blended.
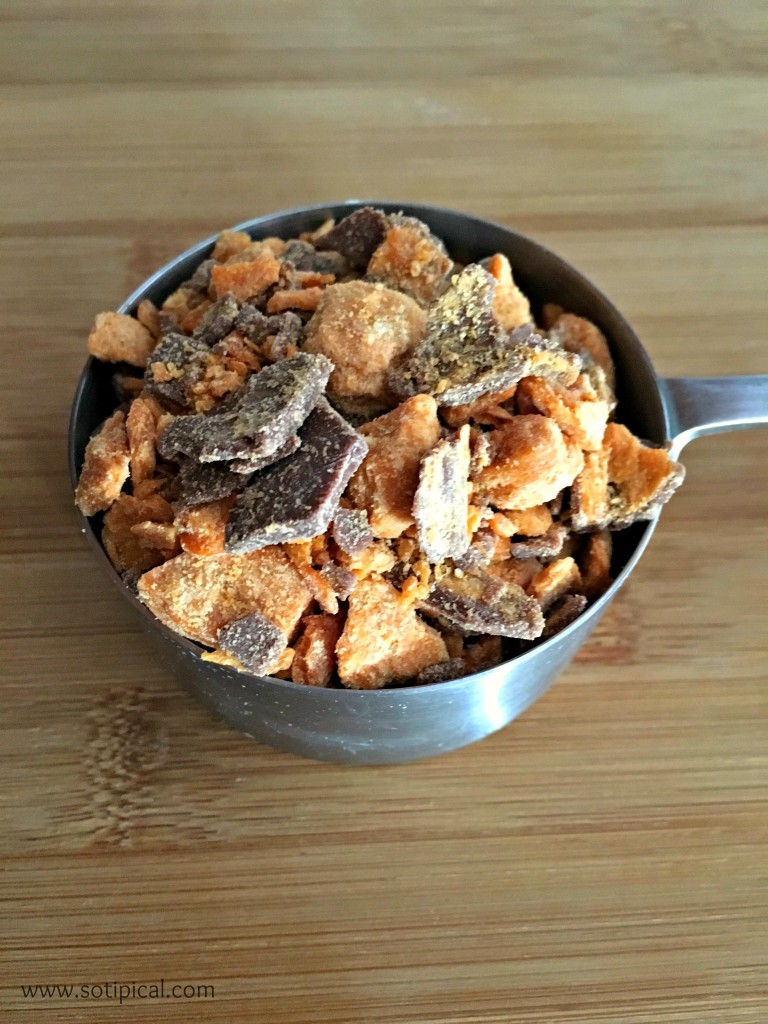
Now you will fold in your crushed BUTTERFINGER ® Minis. Once combined, you are ready to fill your crust.
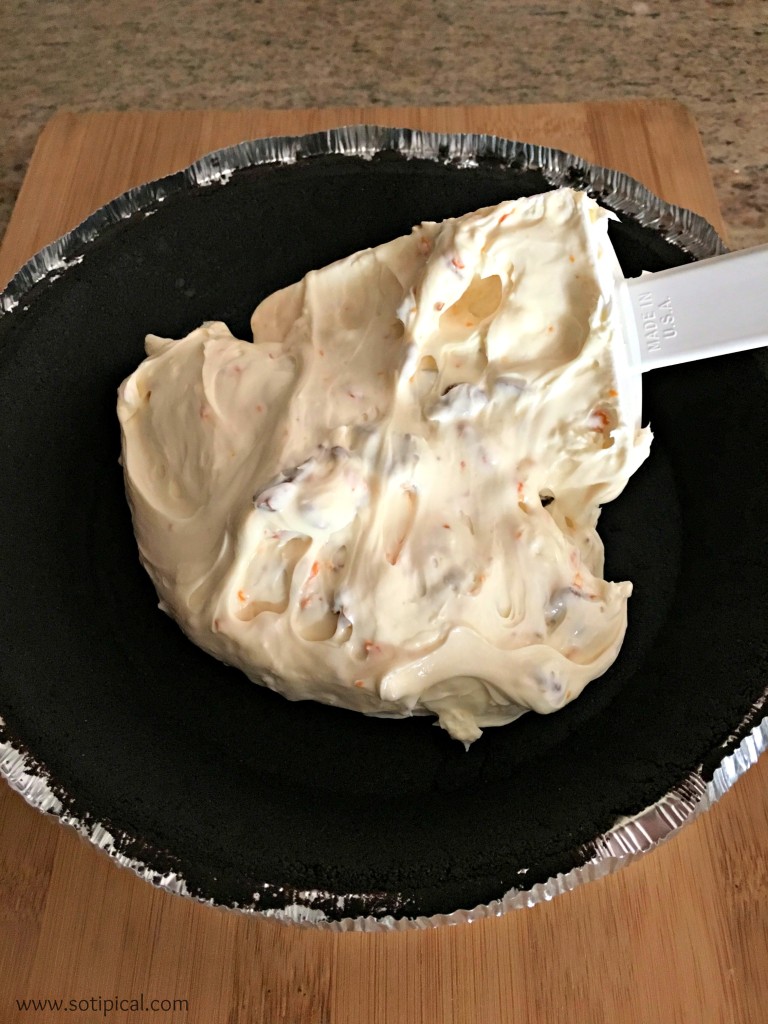
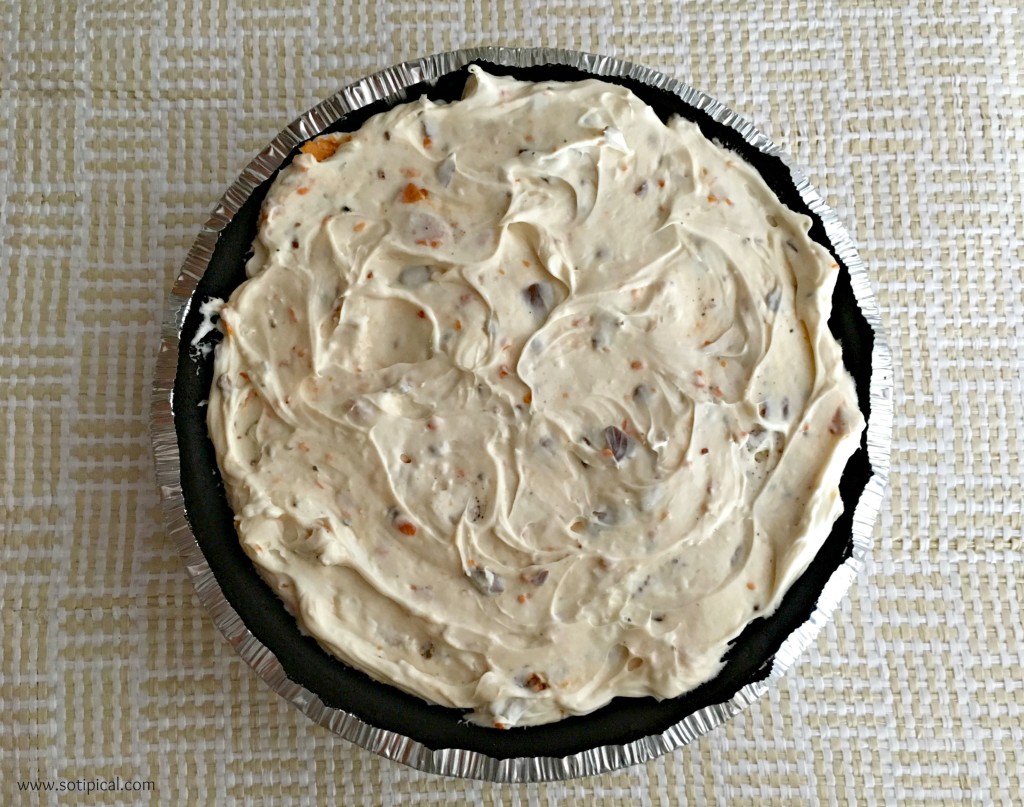
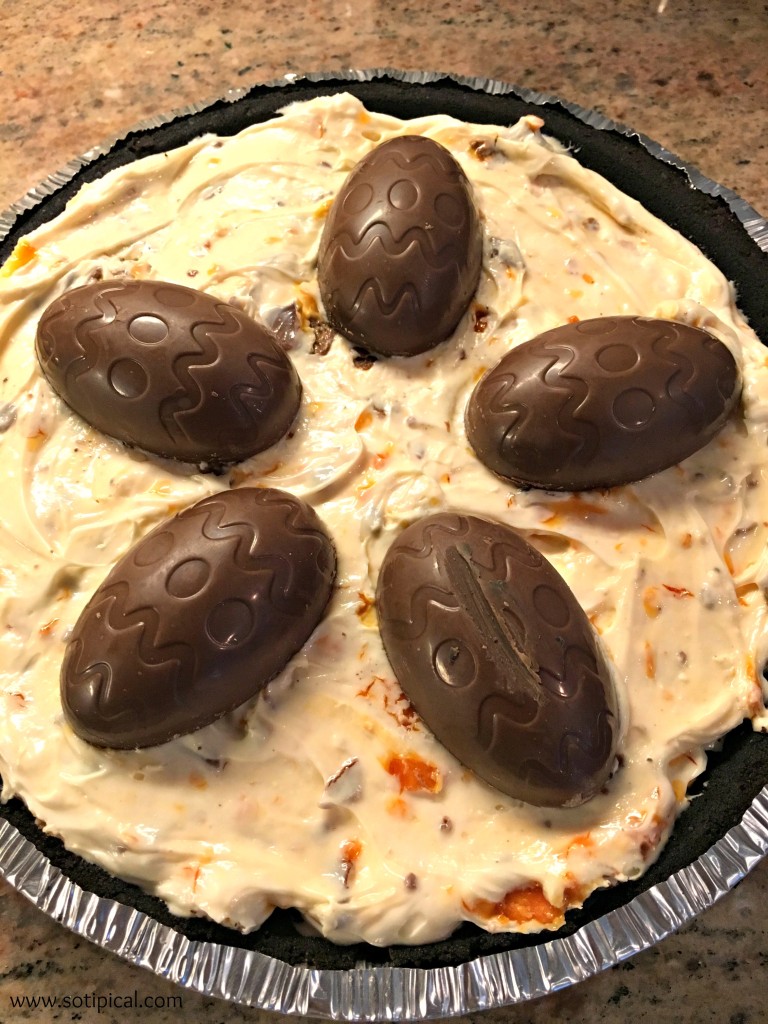
In order to save prep time, I decided to purchase a ready-made chocolate pie crust. You can certainly make your own, or even use a graham cracker crust. (Homemade crust is made with finely crushed cookies mixed with melted butter, then pressed into your pan.) I thought the chocolate would add a nice balance in the flavor and it did! Carefully add the blended mixture to the crust. Be gentle when spreading the mixture on the bottom. This crust was a little fragile underneath.
Lightly cover the cheesecake and chill for a minimum of 2-3 hours. This will allow the cream cheese mixture to firm up.
Once fully chilled, arrange your BUTTERFINGER ® Cup Eggs 6pk in a starburst on top. I used 5 of them.
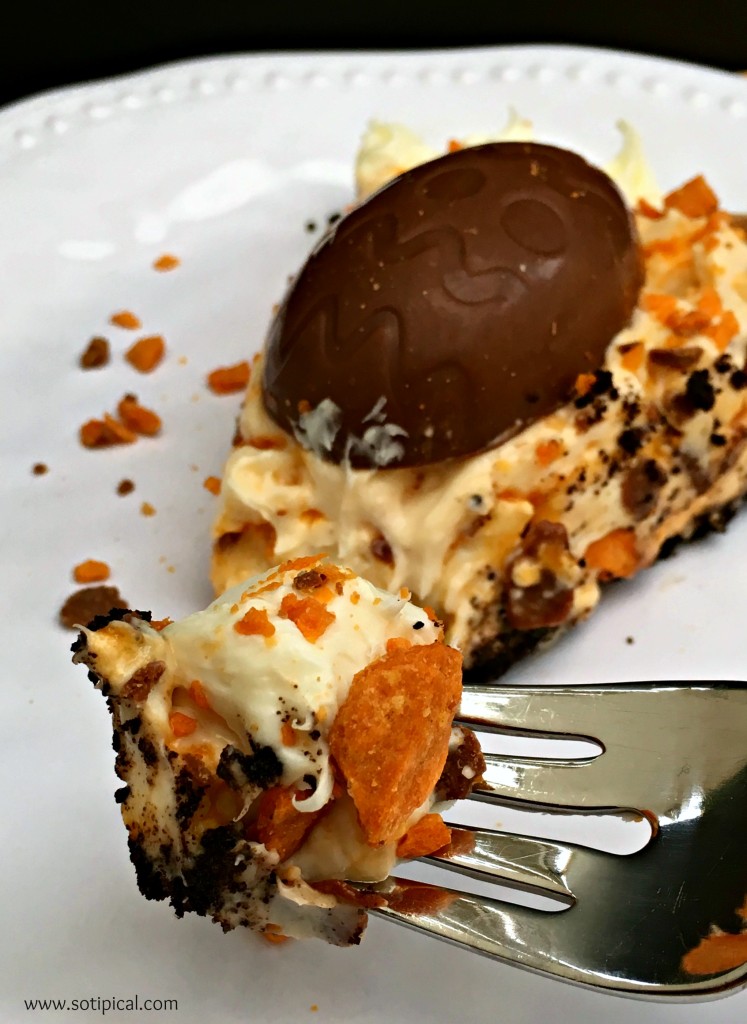
For additional garnish, I added crushed BUTTERFINGER ® Minis on top of the cheesecake and piped vanilla frosting around the edge and in the center. My original plan was to use whipped topping, but it has been pretty warm here lately and thought it might melt too quickly. Using the frosting in its places prevented that from happening.
No Bake BUTTERFINGER ® Cheesecake
- 1 Chocolate Pie Crust
- 2 8 oz Packages Block Cream Cheese (do not used whipped)
- 1/2 Can Sweetened Condensed Milk
- 1 TSP Pure Vanilla Extract
- 2/3 Cup Crushed BUTTERFINGER ® Minis (or you can used BUTTERFINGER® Baking Bits)
- 5 BUTTERFINGER ® Cup Eggs
- 1/2 Cup Vanilla Frosting
Doesn’t that look amazing??? For more great BUTTERFINGER ® recipes, be sure to visit the FLAVORFUL MOMENTS PINTEREST BOARD and the Walmart NESTLE® page. Let me know your favorite way to enjoy BUTTERFINGER ® chocolates!
Pin this!
Look at all the peanut-buttery goodness inside these BUTTERFINGER ® Cup Eggs! Grab some today!
![No Bake Butterfinger Cheesecake - So TIPical Me My No Bake BUTTERFINGER ® Cheesecake is a perfect no-fuss, easy to make dessert this holiday that your family will LOVE! #EggcellentTreats [ad] @Butterfinger](https://www.sotipical.com/wp-content/uploads/2016/03/butterfinger-cheesecake-pin-image.jpg)
This looks delicious to take to an Easter brunch or lunch! [client]